
Why Keep Soccer Cleats Clean?
It’s the nature of the game - soccer cleats are inevitably going to get marked and muddy, especially when you’re playing full out during matches and practice. So, why is it important to make sure your cleats are kept clean and well-maintained?

Apart from the basic goal of looking smart and ready for action, there are a number of reasons to take good care of your footwear.
Perhaps the most important reason is that your cleats can affect your performance on the field. Muddy cleats mean reduced traction and less control of the ball. Good care and maintenance can also mean that your cleats will last longer, and soccer cleats can be pricey, so this benefit is well worth the effort.
Most players know that clean cleats are the best option, but many are put off by the messy and time-consuming prospect of dealing with muddy shoes after a match or training. But with a little know-how, it can be easy to get into good habits and start taking better care of your soccer cleats.
We'll show you a simple step-by-step process for cleaning soccer cleats and keeping them match-ready. We’ll also introduce you to Boot Buddy, the make-it-easy tool that’s designed to get your shoes clean ASAP, so you’re always looking your best on the pitch and ready for your next game.
How to Clean Soccer Cleats (Quick Answer)
To clean soccer cleats:
- Remove loose mud and dirt.
- Hand wash using warm water and mild soap.
- Remove and clean the laces and insoles separately.
- Brush the uppers carefully.
- Scrub the soles and studs.
- Rinse away any cleaning solution.
- Allow the cleats to air dry completely.
How to Clean Soccer Cleats Step by Step
Cleaning cleats doesn’t need to be a difficult or lengthy process. With just a few simple steps and the right equipment, you can make light work of this basic maintenance and enjoy the many benefits of clean soccer cleats.
1. Remove loose mud & dirt
To save yourself time and effort, as well as help maintain your shoes’ performance, it’s a good idea to remove any loose dirt, mud, and debris from your soccer cleats after every use. This need only take a few seconds, as you knock them together to loosen mud and let it fall onto the ground. This will also mean less mess in your kit bag and make a basic clean of the shoes much easier.
If there is still some mud remaining after you’ve knocked the cleats together or against a hard surface, you can use a stick or special tool to prise out any stubborn dirt from the surface of the shoe or on the sole between the studs.
2. Wash by hand
It’s always recommended to hand-wash your soccer cleats. Using a washing machine, even on a cold or delicate cycle, can affect the shoes and may even damage your washer. And if you’ve invested in expensive high-performance footwear, it’s definitely better to wash them by hand.
3. Mix a mild cleaning solution
You could clean your cleats just using warm water, but adding a mild laundry detergent or dish soap will help to shift grime and remove stains. A teaspoon of mild detergent mixed with water is usually enough to create a lather that will help to clean away dirt, sweat, and bacteria.
4. Remove laces and inner soles
This step is optional, but it can be a good idea to clean shoelaces and inner soles separately. These can be cleaned in a washing machine (always place them inside a mesh bag or pillow case), or you can clean them in a separate bucket or container of clean, soapy water.
5. Carefully brush the shoe uppers
Using a gentle brush or cleaning wipe, carefully clean away any mud and dirt from the upper part of your cleats.
Take special care with this part of the shoe, as this is often where the specialist fabrics or coatings are applied, and you don’t want to damage the surface by being too aggressive with your cleaning. This is also why it’s a good idea to avoid any harsh chemical cleaning liquids that can damage the leather or synthetic material.
6. Scrub the soles and studs
You can usually apply more pressure to the soles and studs, as these tend to be more robust and able to withstand deeper cleaning techniques. Using your soap solution and a strong bristle brush, such as an old toothbrush or shoe-cleaning tool, scrub the mud and stains away, paying attention to any particularly dirty areas.

You can even dip the soles into the sink or bucket to soak any stubborn mud or debris, but take care not to get the upper soles too wet, as this will mean extra drying time later on.
7. Don’t forget to rinse
After cleaning your cleats, especially if you’ve used any kind of cleaning solution, it’s important that you rinse them in clean water. This will remove any residue that could lead to staining or watermarks. Once you’ve rinsed away any cleaning liquid, wipe down the cleats with a clean sponge, damp cloth, or paper towels.
What to Avoid When Cleaning Soccer Cleats
- Avoid putting soccer cleats in the washing machine.
- Avoid using harsh cleaning chemicals.
- Avoid drying cleats with direct heat.
- Avoid storing cleats before they are completely dry.
How to Air Dry Cleats
Proper drying is just as important as cleaning, as trapped moisture can cause odors, bacteria growth and material damage.
If you’re following this guide or using a specialist soccer cleat-cleaning tool, you’ll minimize the amount of water needed to get your shoes clean. This will help them dry more quickly. If you want to speed up the time it takes for your cleats to dry, here are a few quick tips:
Always air dry when possible, as this will preserve any special coatings on the shoe and help to maintain its performance.
If you washed laces and inner soles separately, you can lay both soles and shoelaces on a clean flat surface to dry.
Stuff scrunched-up newspaper or paper towels in the toes of the shoes to absorb additional moisture. This will also help the cleats keep their shape as they dry.
Never use a direct heat source or excessive heat (such as fan heaters, hair dryers or tumble dryers), as this can damage the surface of the shoe and potentially melt the glue that holds it together. Even direct sunlight is not advisable, as this can bleach out bright colors or degrade the fabric.
Always remember to make sure your soccer cleats are completely dry before you put them back into your kitbag. This will help to avoid unpleasant smells and dampness that can lead to mold or bacteria.
Soccer Cleat Cleaning FAQs
Can you wash soccer cleats in the washing machine?
Hand washing is usually the safest option. Washing machines can damage cleats and may shorten their lifespan.
How often should you clean soccer cleats?
Light cleaning after every use helps prevent mud build-up and keeps cleats performing at their best.
Can you dry soccer cleats with a hair dryer?
No. Direct heat can damage materials and adhesives. Air drying is the safest option.
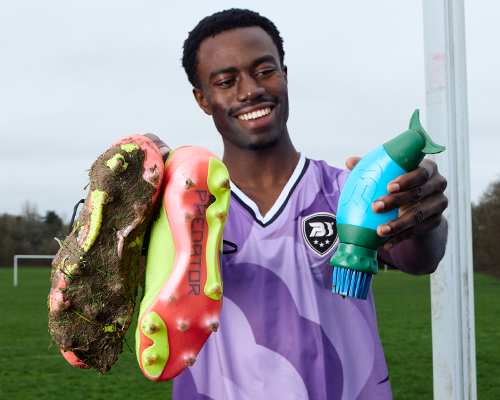
Boot Buddy: An Effortless Alternative
If you’re committed to taking excellent care of your soccer cleats, or you just want to make the cleaning process easier, we’ve designed a special tool to help you. Boot Buddy is an all-in-one shoe cleaning tool that’s perfect for restoring soccer cleats to their pre-match glory.
Perhaps the most important feature of the Boot Buddy tool is that it’s small and portable. This means you can easily keep it in your soccer bag and have it ready to use after every match or practice session.
Getting in the habit of performing a quick clean after each use will help you take the best possible care of your soccer cleats. It will also rid excess dirt from your soccer bag, and you won’t have to spend time on messy clean-up sessions at home.
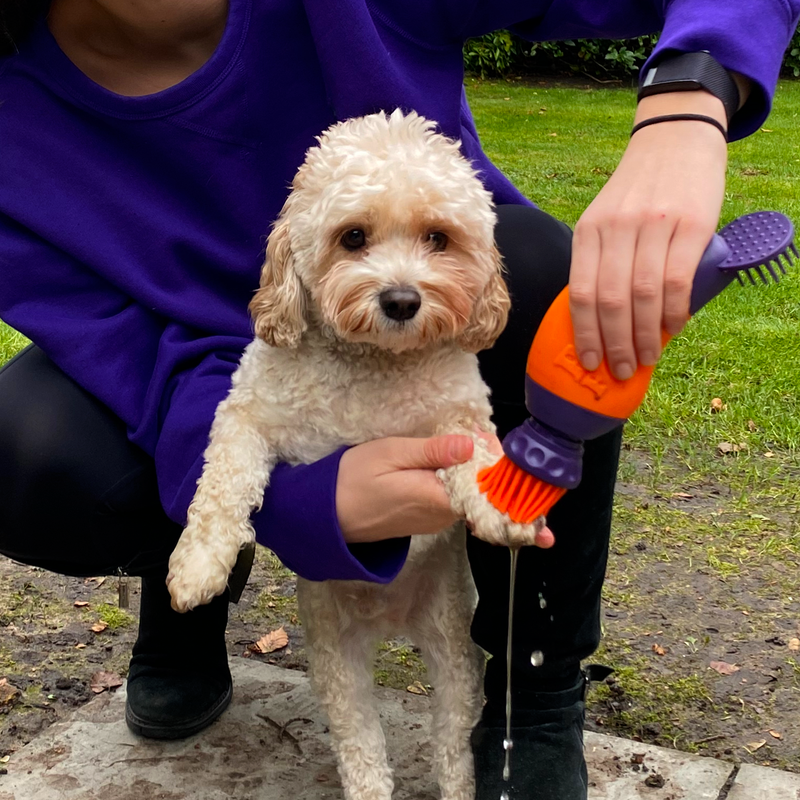
Boot Buddy is also a versatile tool that can help with cleaning any type of cleats. So if you or your family wear baseball cleats, athletic cleats, football cleats, or any kind of sports shoe, this handy tool is going to become your new best friend.
Clean Cleats, Better Performance
Now you know the benefits of keeping your soccer cleats clean and how to incorporate some good cleaning practices into your regimen - rain or shine.
Taking this extra time to do a little prep after every use, and a thorough clean as often as needed, will help to keep your performance footwear in great shape for the longest possible time.
And if you want to make this essential maintenance work even quicker and easier, take a look at the Boot Buddy range of specialist cleaning tools, designed specifically for soccer players.

